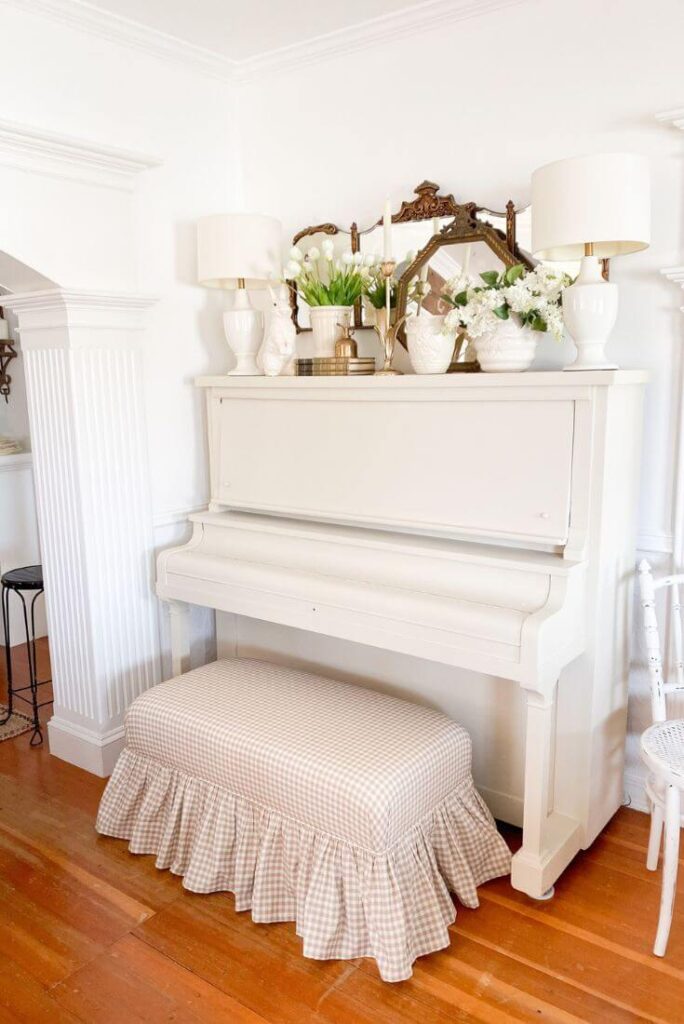
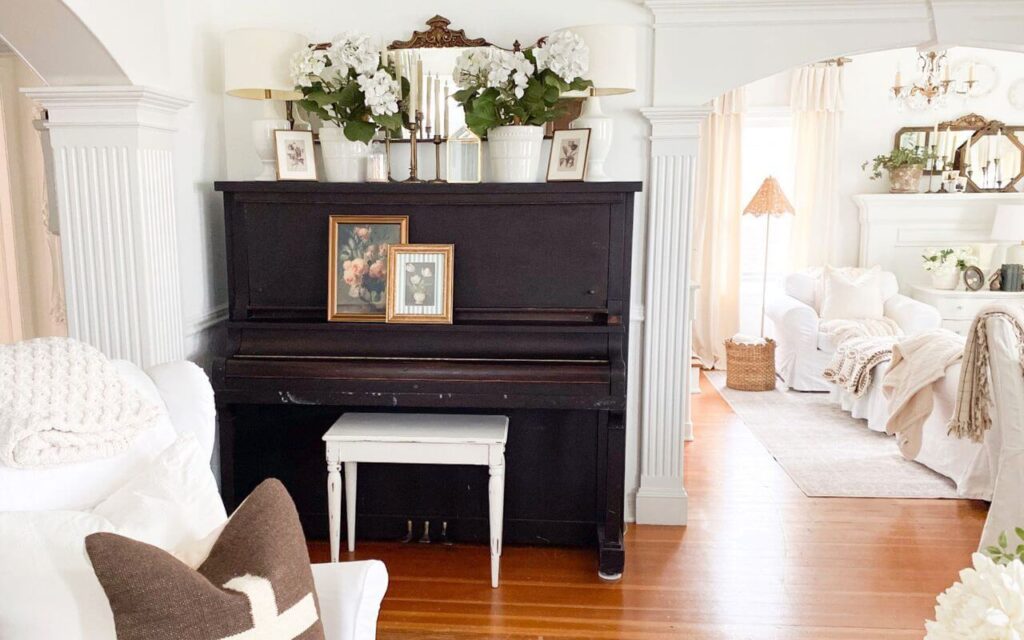
I finally painted the piano! This is a project I procrastinated on for quite some time, but now that it’s finished, it feels like the perfect cottage style piano makeover for this corner of our home. I knew from the beginning it wasn’t going to be a quick project. Whether I decided to strip and re-stain it or paint it, either option was going to be a project. But the piano had seen better days and definitely needed a little love.
Like most antique upright pianos, this one is heavy and nearly impossible to move, so whatever I decided to do would have to happen right where it sits. That alone made the project feel a little intimidating.
And then there was the bigger concern — not ruining the functionality of the piano. Paint dripping between the keys or getting inside the piano belly (the interior mechanism) would have been a disaster. So I knew from the beginning this would require a careful approach.
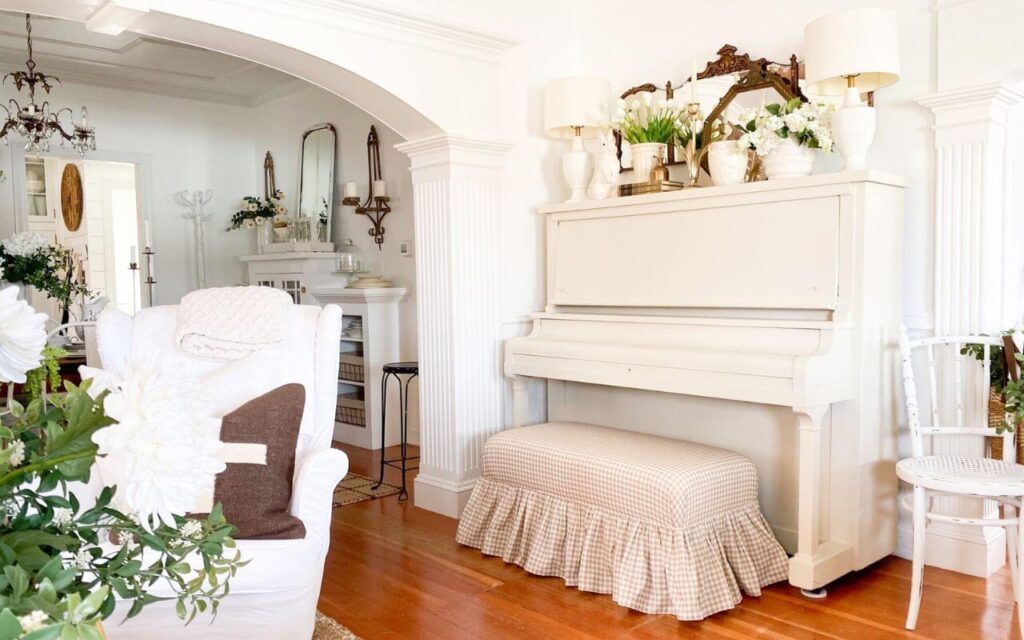
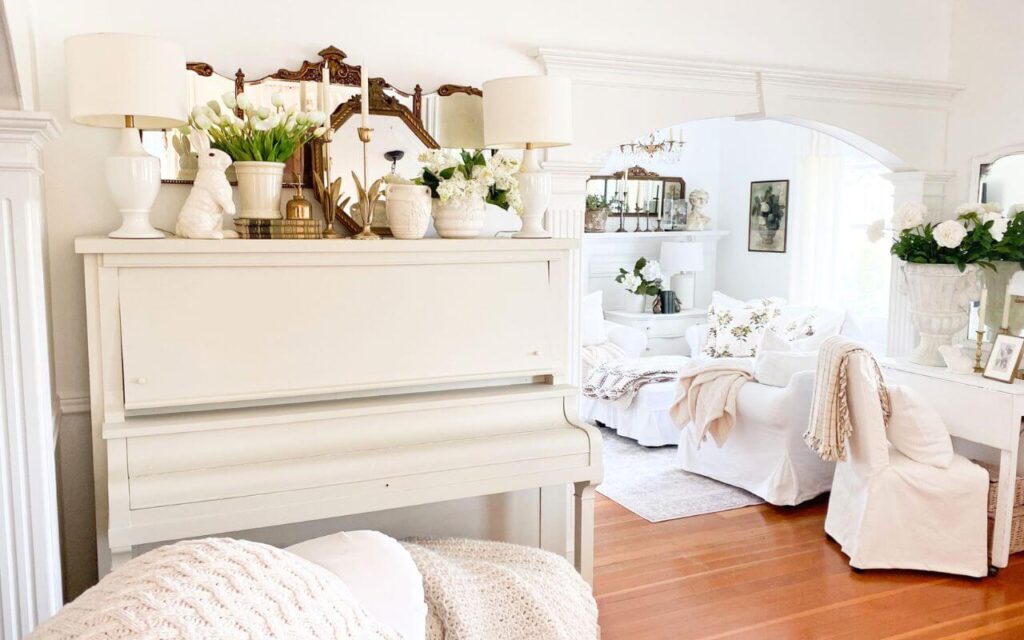
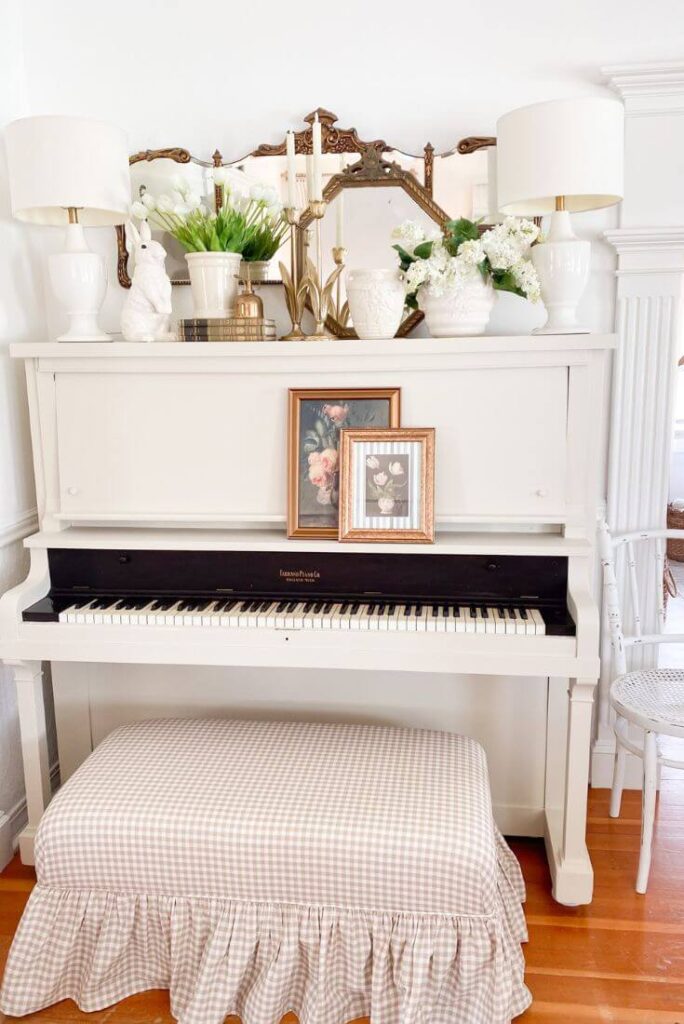
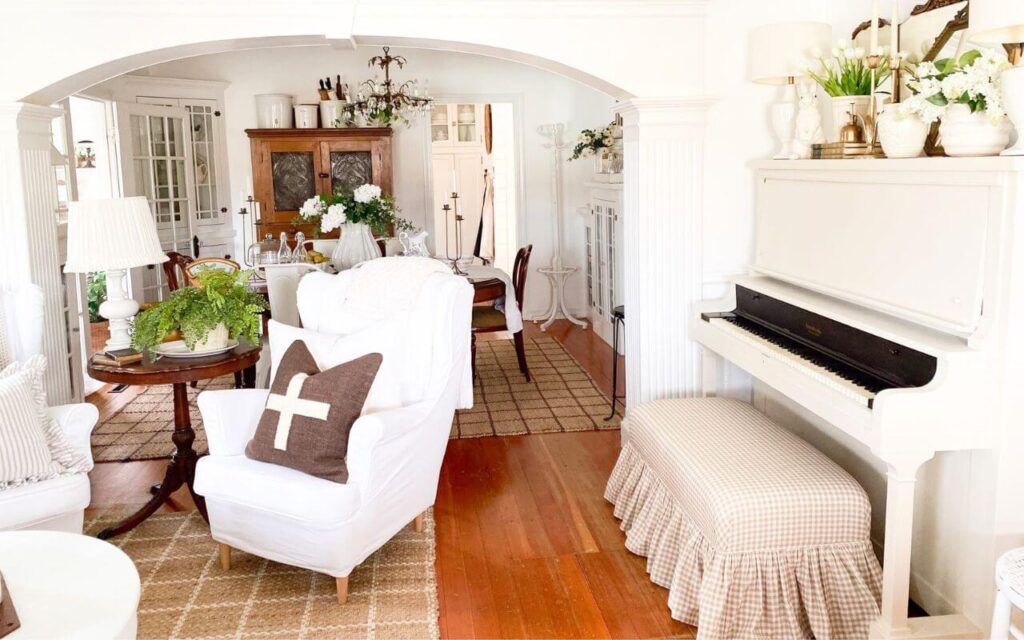
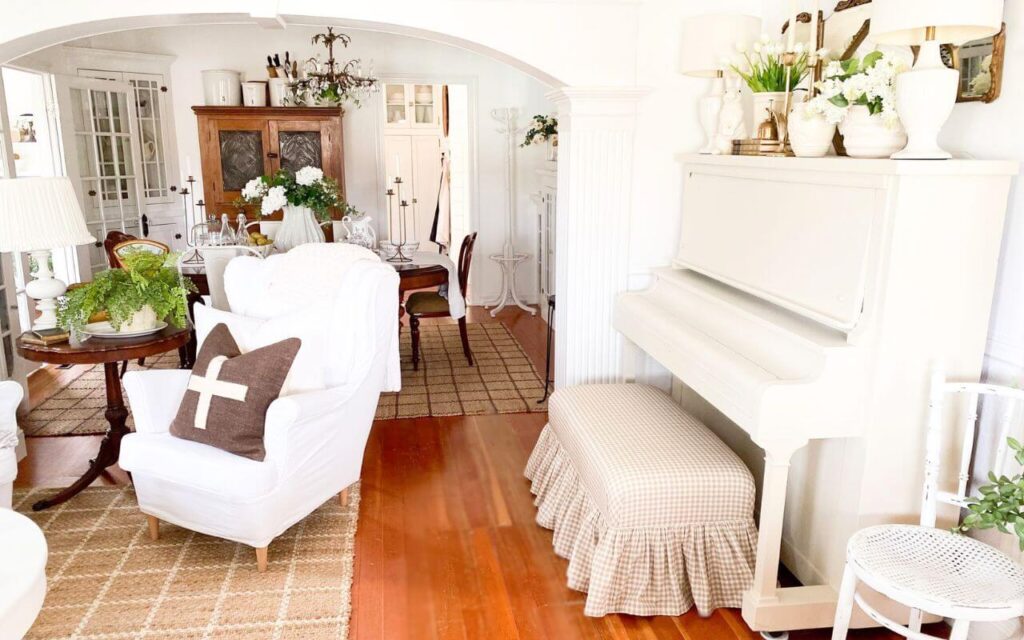
But now that it’s finished, I’m so glad I went for it. The piano feels completely refreshed and fits beautifully with the cottage style of the room.
If you’ve ever thought about painting an upright piano, here’s what worked for me.
Please note:
This post contains affiliate links. As an Amazon Associate, I earn from qualifying purchases, which means I may get compensated/earn commission at no extra cost to you if the affiliate links are utilized to make a purchase. For further information, see our Disclosure Policy.
The Biggest Challenges in This Cottage Style Piano Makeover
There were a few things that made this project a little tricky.
First, the piano couldn’t be moved outside, which meant I couldn’t rely on heavy-duty stain blockers or spraying techniques.
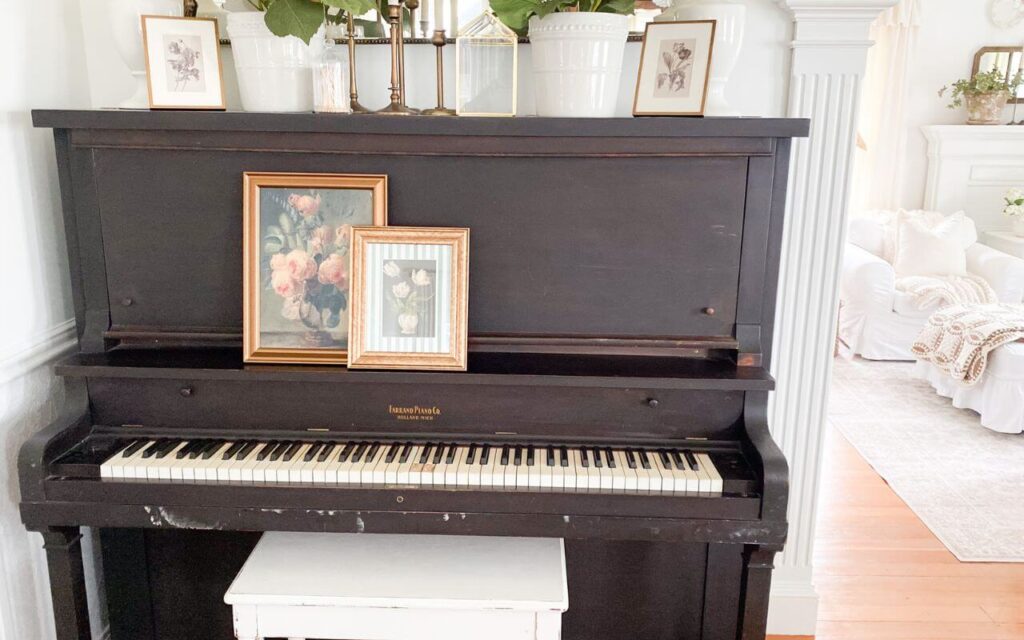
Second, the dark stain on antique wood can be stubborn. Sometimes those deep finishes bleed through paint, especially lighter colors.
And third, I wanted to preserve some of the original character.
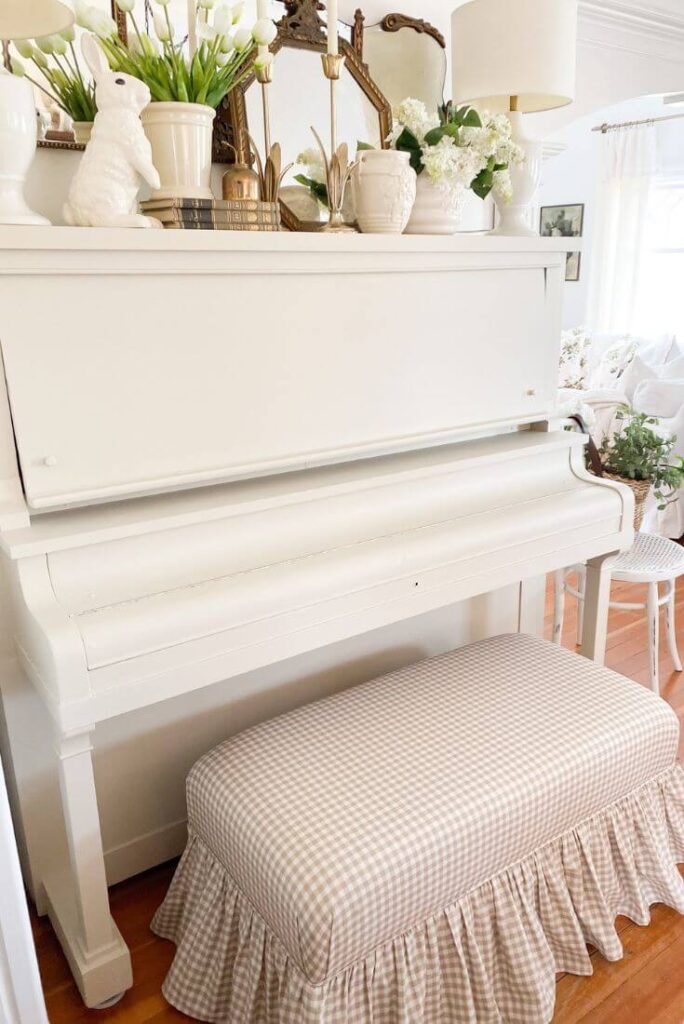
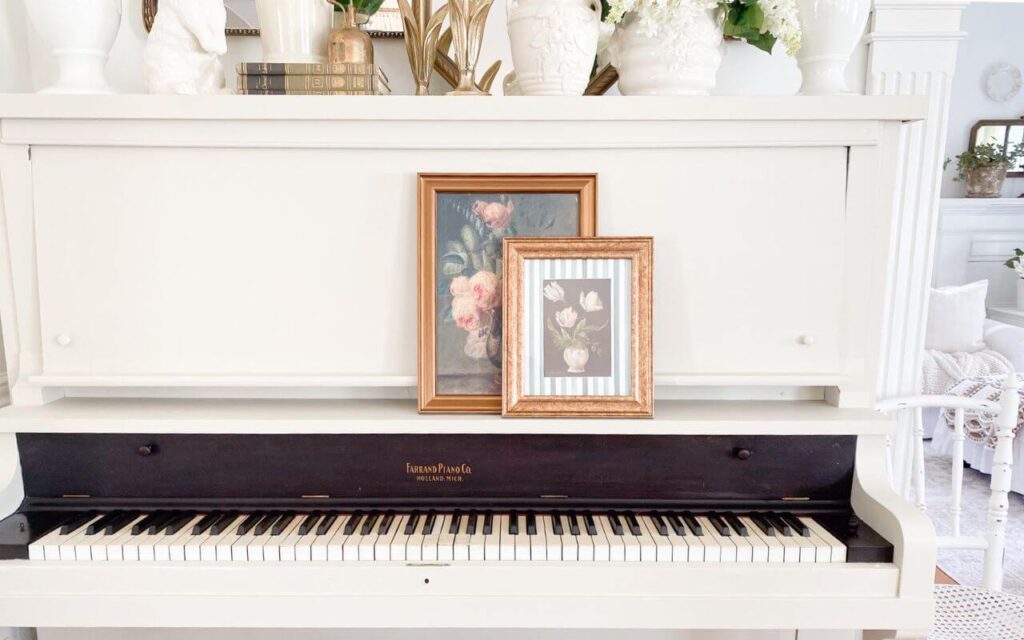
Inside the hinged cover (called the fallboard or key lid) is a beautiful gold label from Farrand Piano Co. in Holland, Michigan. I didn’t want to paint over that detail, so I planned ahead to keep the interior wood intact.
Choosing the Right Paint for a Painted Upright Piano
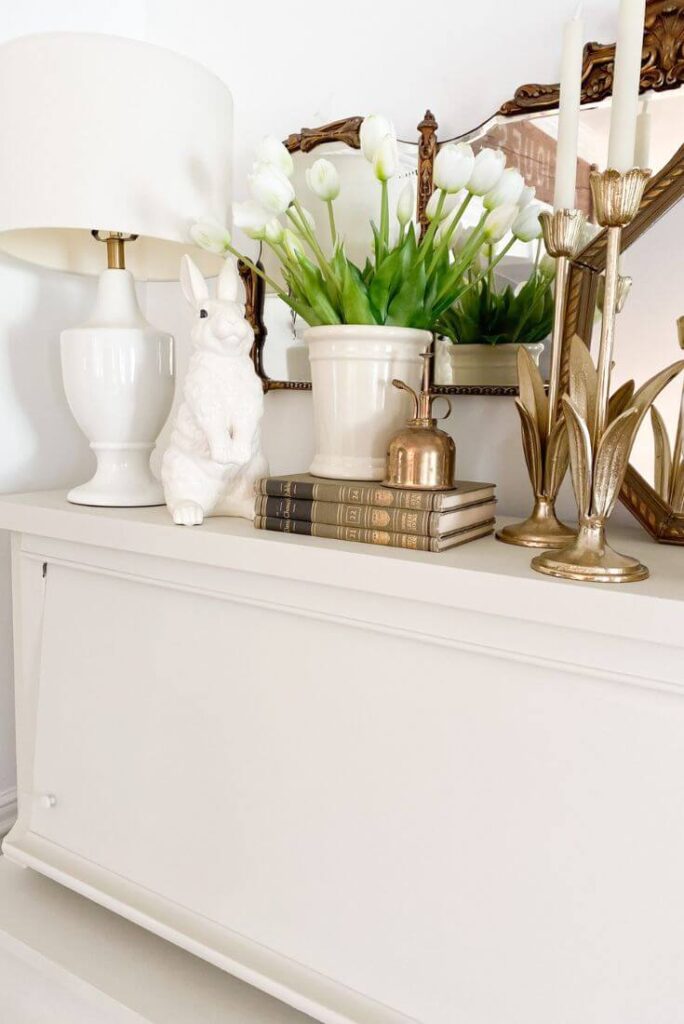
For a project like this, I didn’t want to cut corners on materials. I used Fusion Mineral Paint in the color Champlain, which is one of my favorite creamy whites. I’ve used this paint on several furniture projects around our home because it gives such a smooth, durable finish. In fact, I used the same paint when refreshing pieces on our small front porch decorating project, and it held up beautifully outdoors.
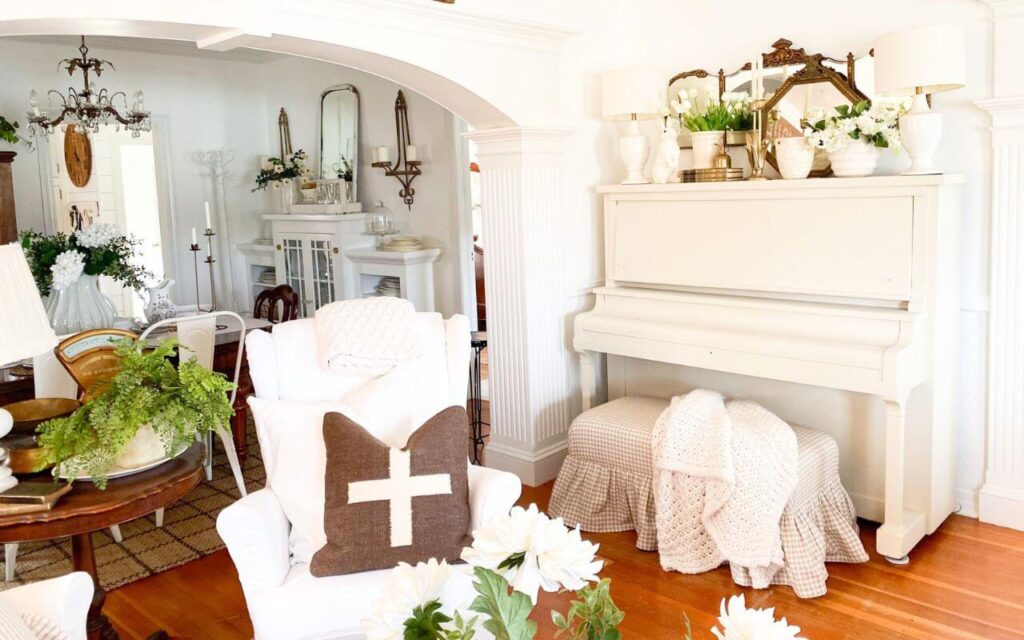
Champlain was the perfect color choice for this piano because I still wanted a little warmth in that corner of the room. A stark white would have felt too bright, but this creamy tone fits perfectly with the soft cottage style of the space.
Fusion Mineral Paint is designed for furniture, so it:
- adheres well
- creates a smooth finish
- usually doesn’t require a primer
However, because the piano had such a dark stain, I decided to use a primer first.
How I Prevented Dark Stain Bleed-Through on This Antique Piano
Even with primer, the stain still bled through on a few spots.
Here’s the process that ultimately worked:
- One coat of water-based primer
- One coat of Fusion Mineral Paint
At that point, most of the piano looked great — except for the key lid where the stain was particularly strong.
For that stubborn section, this finally solved the problem:
- Primer
- Mineral paint
- Two light coats of primer
- Final coat of mineral paint
After that, the stain stopped bleeding through and the finish looked smooth and even (note: I also lightly sanded in between paint and primer layers).
Protecting the Keys While Painting an Upright Piano
Because of the delicate parts of a piano, I had to be especially careful around the keys.
Normally I prefer to cut in with a good angled brush rather than tape, but in this case taping was necessary around the interior of the lid.
This allowed me to:
- keep paint away from the keys
- preserve the dark wood inside the lid
- protect the original Farrand Piano label
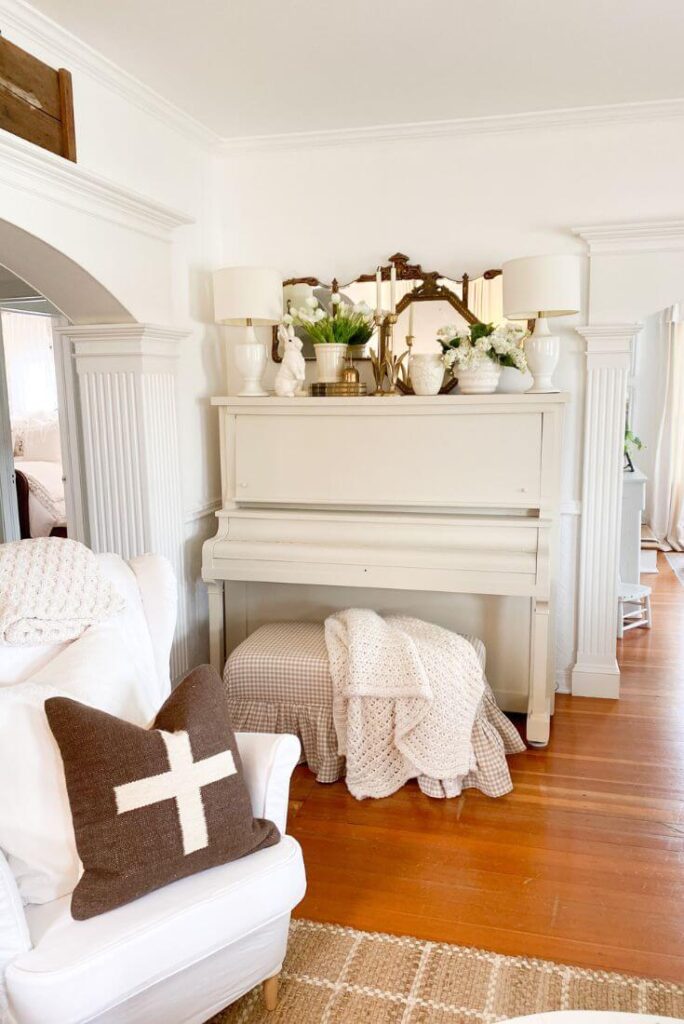
Leaving the inside dark actually turned out to be one of my favorite details of the finished piano.

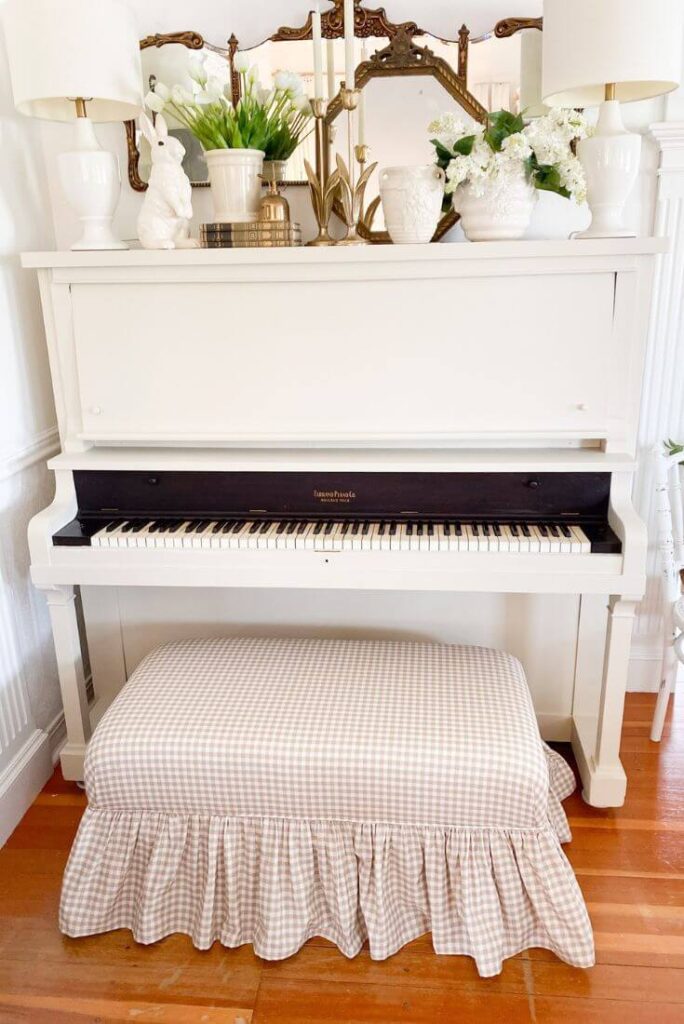
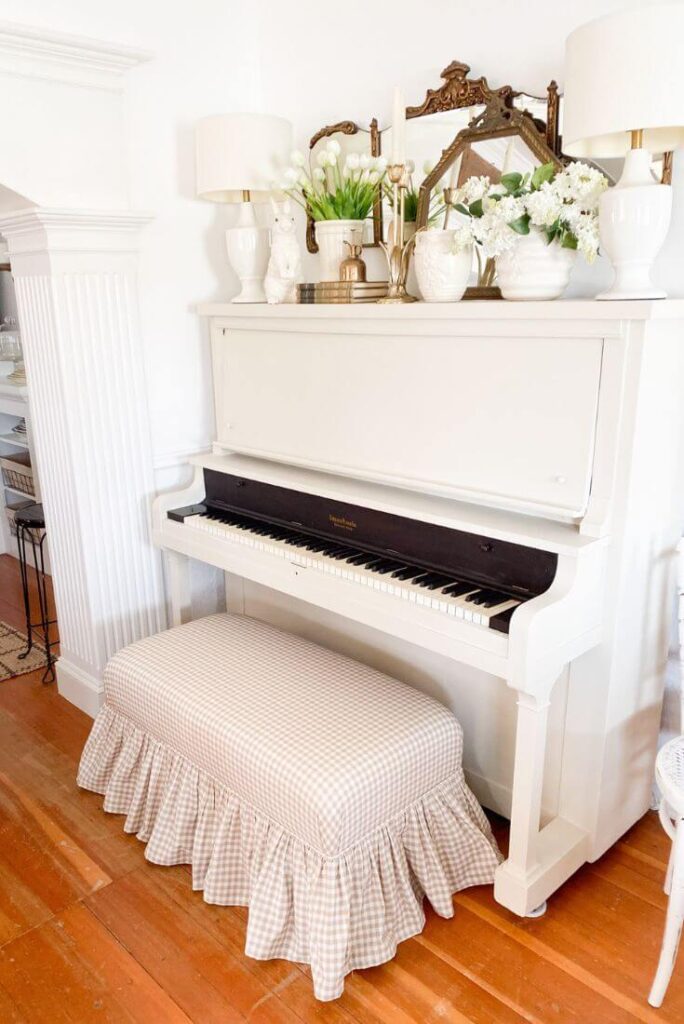
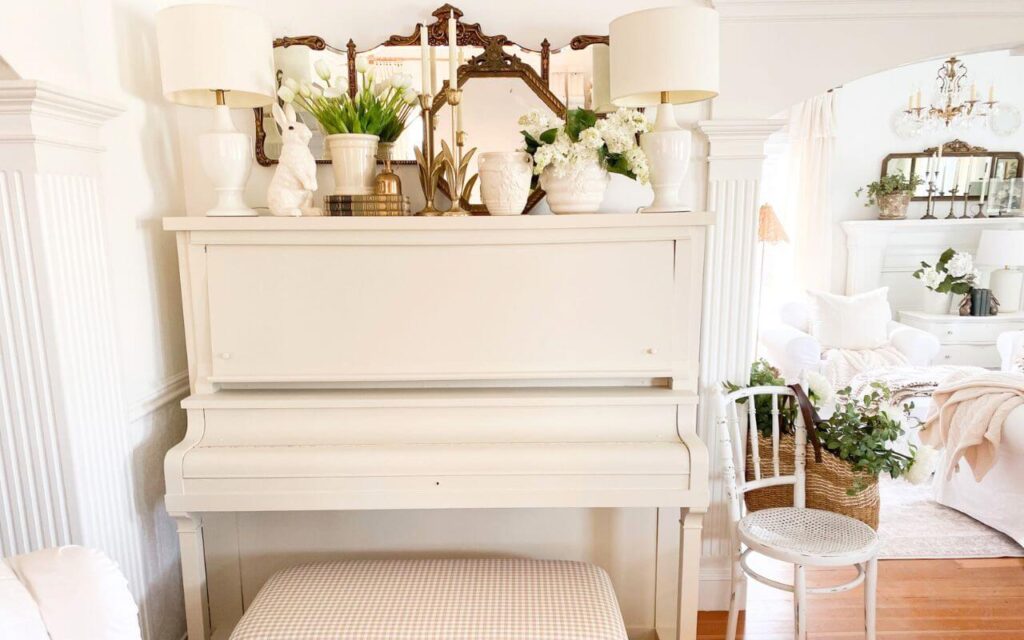
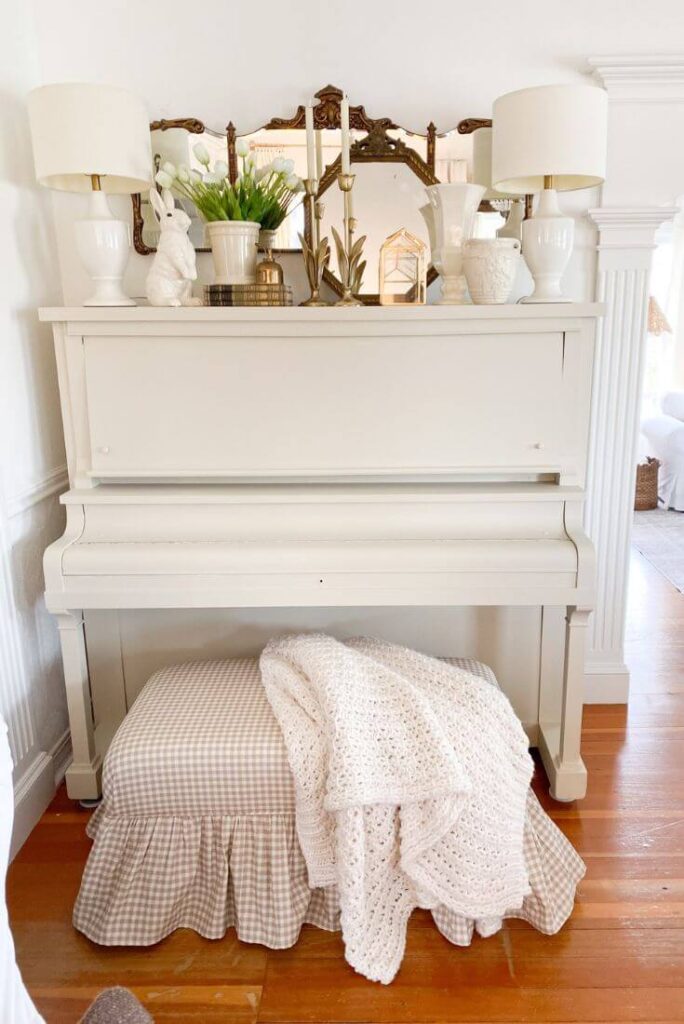
The Finishing Touch: A Gingham Piano Bench
Once the painting was finished, I added the sweetest finishing touch — a gingham bench.
I wanted a little pattern and softness in that spot, and the gingham adds just the right amount of charm without overwhelming the space. Now the piano feels fresh again and fits beautifully with the cottage style of the room.
Was This Cottage Style Piano Makeover Worth It?
Halfway through the project I remember thinking, “Now I know why I put this off for so long.” But once everything was finished, I completely changed my mind.
The creamy painted finish, the preserved antique details, and the cozy bench have turned this once worn piano into one of my favorite spots in the house. This cottage style piano makeover gave the piano a fresh new life while still honoring its history and character.

If you have an old upright piano that feels a little tired, painting it can be a beautiful way to give it a new life — while still honoring its history.