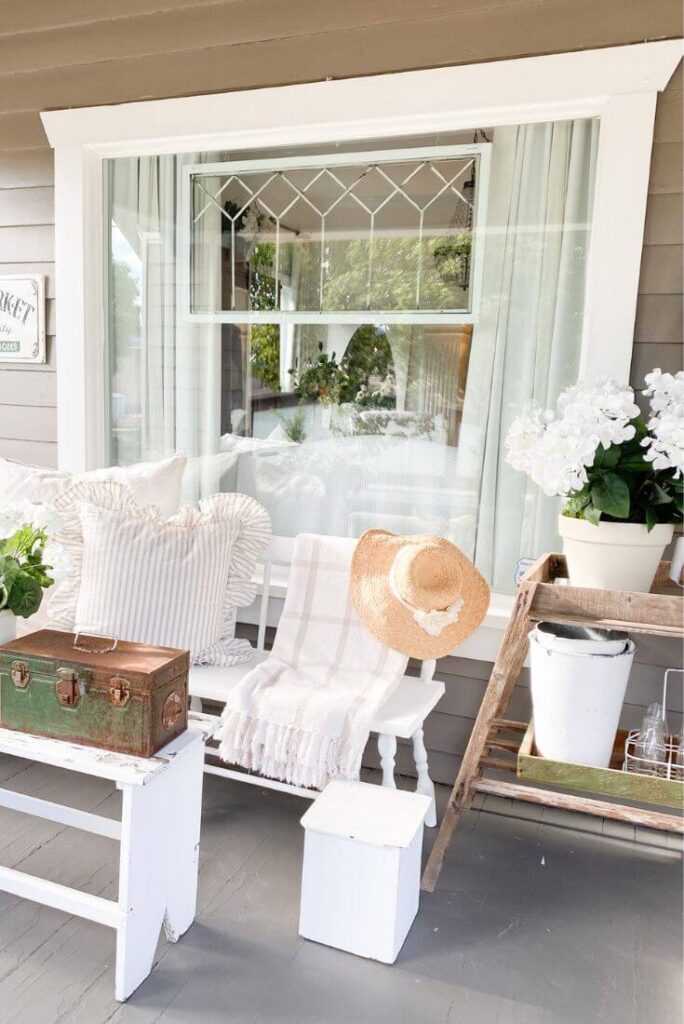
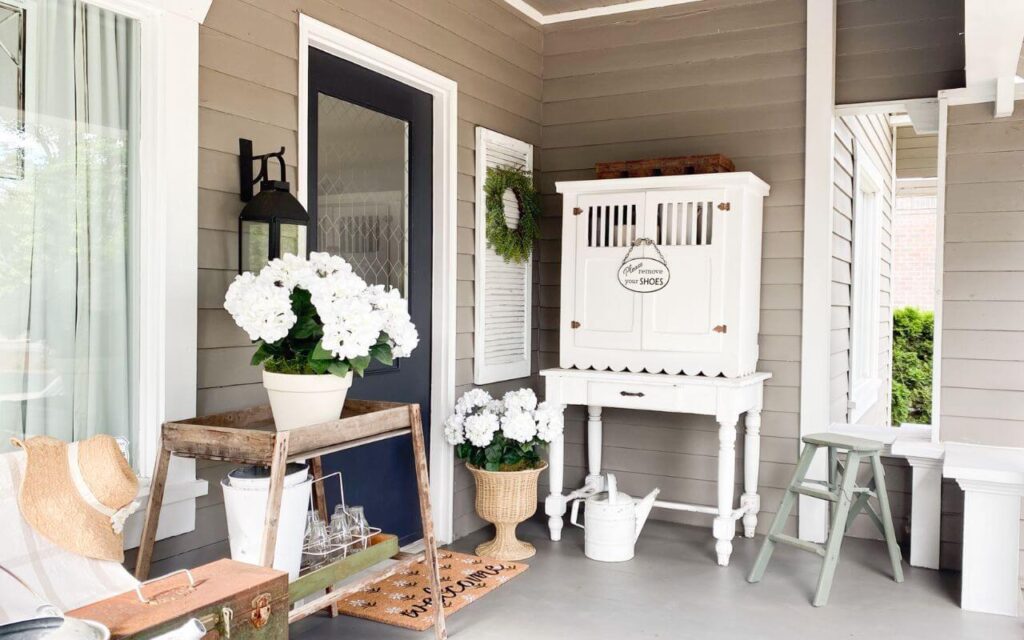
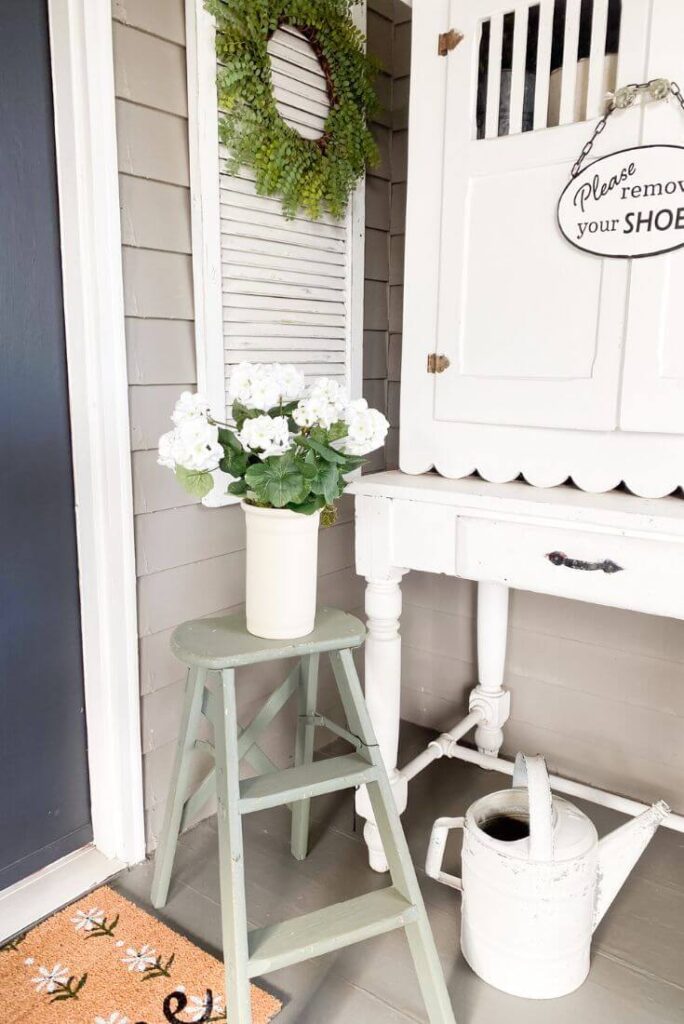
When the warm weather finally hits, the very first space I like to refresh is the front porch. After a long, gray winter, it’s ready for some personality and color.
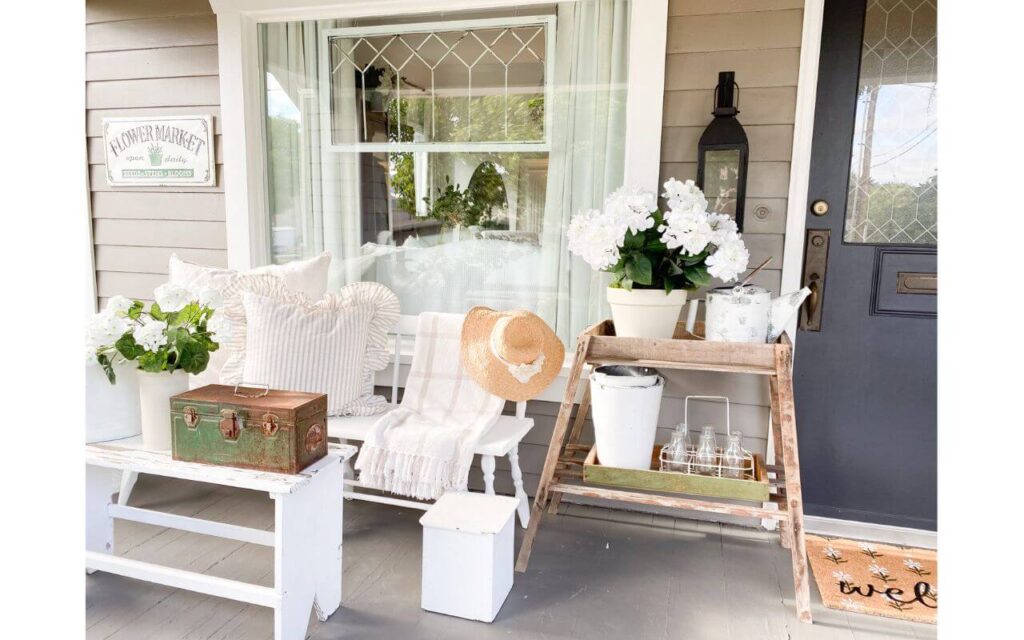
This year, my summer front porch essentials included:
- a vintage bench,
- a new welcome mat,
- a few “found” treasures like sap buckets, watering cans, and old milk bottles,
- and—most importantly—fresh white florals.
I had my heart set on a few faux outdoor hydrangeas from Amazon for my porch refresh. But, of course, by the time I was ready to order, they were sold out… and stayed that way no matter how often I checked. There were plenty of other floral options, but I couldn’t let go of the hydrangea vision. So, I decided to make my own.
Please note:
This post contains affiliate links. As an Amazon Associate, I earn from qualifying purchases, which means I may get compensated/earn a commission at no extra cost to you if the affiliate links are utilized to make a purchase. For further information, see our Disclosure Policy.
Why DIY Is Perfect for Decorating a Small Front Porch for Summer
One of the best parts of decorating a small front porch for summer is that you can make a big impact with just a few key elements. A couple of statement planters, a pop of greenery, and one vintage piece with character can transform the whole space. My DIY floral pots ended up creating the fresh look for summer I was after—simple, budget-friendly, and completely customizable.
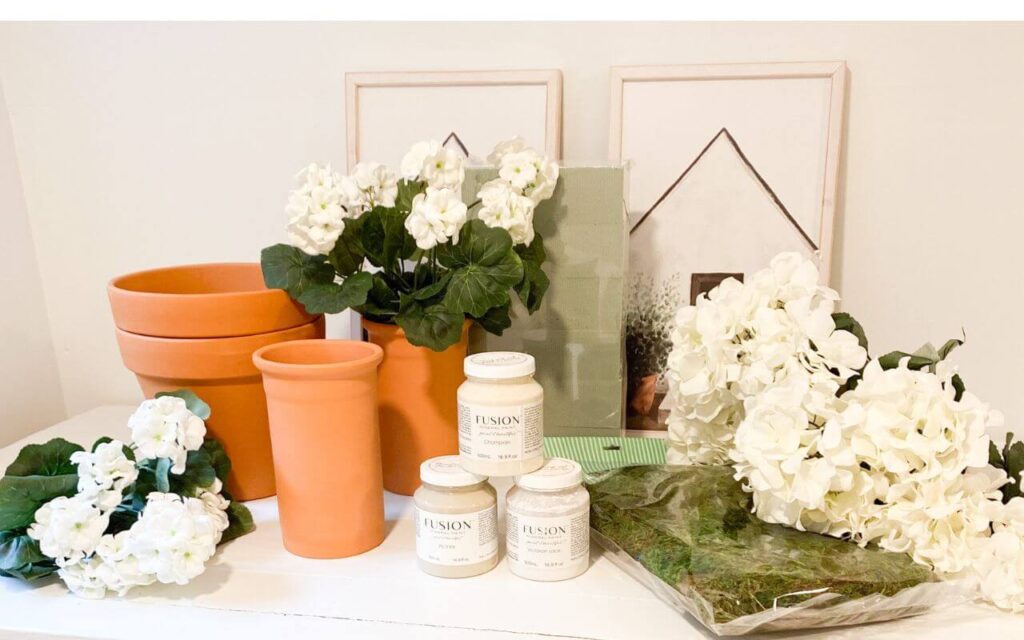
Supplies You’ll Need
- Terra cotta pots (any size)
- Moss
- Dry floral foam bricks
- Paint (I used Fusion Mineral Paint, but craft paint works too)
- Your choice of florals
I kept the cost low since they’d be outside all season and wouldn’t need to last beyond summer. Hobby Lobby was my go-to for florals—they have a huge floral selection and at different price points. I purchased the pots, moss and foam at Hobby Lobby as well, but those items you can find at any craft store.
Tip: Choose floral and pot sizes that work together. What you don’t want is your florals to be too large for the pots.
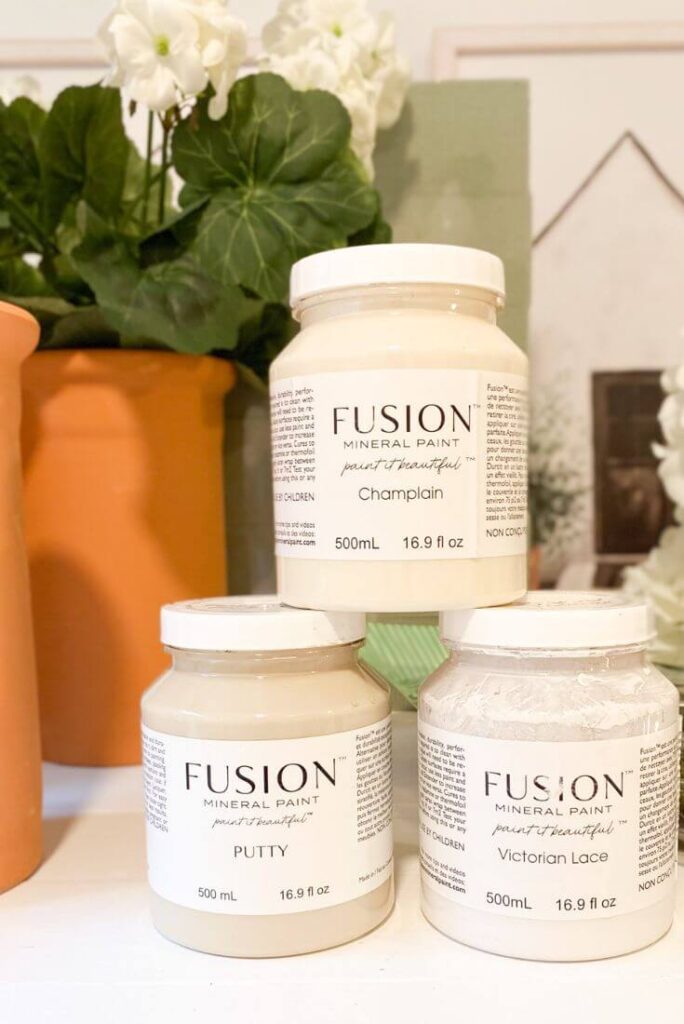
Step 1: Paint the Pots
I used fusion mineral paint, my go to paint of choice. It has great coverage (I only applied one coat), a chalky finish and is great for quick projects. My favorite fusion mineral colors are: Putty, Champlain and Victorian Lace. I used Champlain for this project.
Step 2: Add the Foam and Florals
Cut foam bricks to fit inside your pots. This doesn’t have to be perfect. For the larger pots, the foam was tight at the bottom and loose at the top. The main idea is to have enough foam to stick your florals into to hold them in place. A note about the florals: I chose hydrangea and geranium bushels instead of stems (I used two bushels per pot). I wanted a fuller look and the bushels gave me the look I was after.
Step 3: Hide the Foam with Moss
Add in the moss to hide the floral foam. Find some cardboard, I used a few gift boxes I had laying around. Cereal boxes would work nicely too. Turn your pots upside down and trace a circle for a perfect cut out. You’ll need to puncture holes in the cardboard where your stems will go as well. Once you have your cardboard in place, loosely add the moss with enough to cover the foam and cardboard.
The Final Look
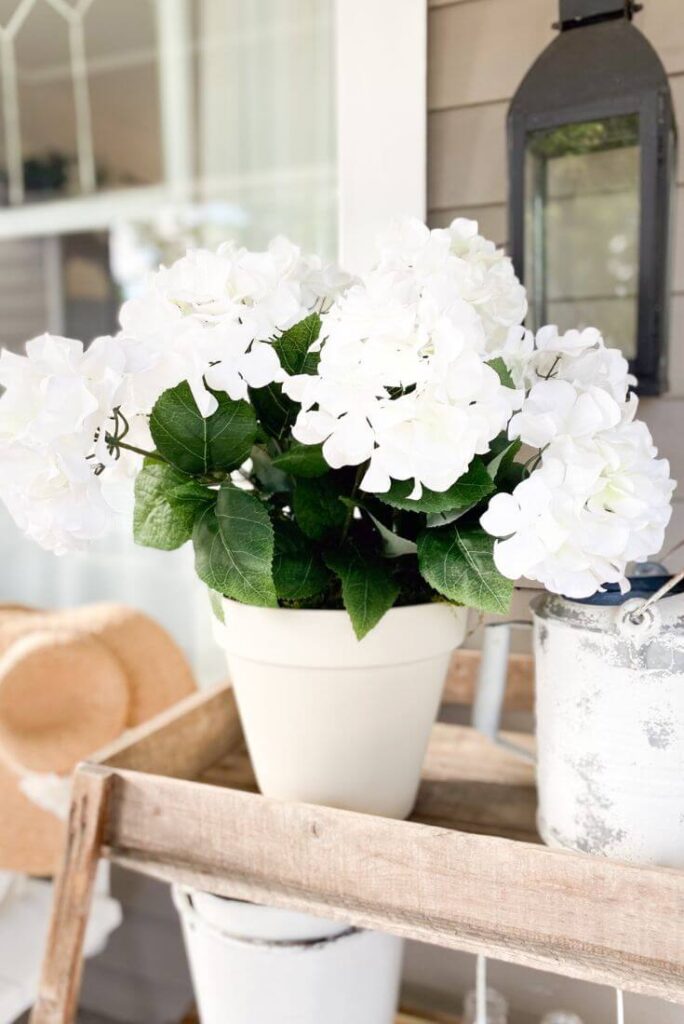
In less than an afternoon, I had fresh florals perfect for my summer porch. They’re versatile enough to use in large outdoor urns or grouped together on steps. Best of all? No watering required.
If your porch is small, don’t underestimate the power of just one or two key DIY projects. A pair of statement planters, a vintage bench, and a fresh welcome mat can completely transform the space—making decorating a small front porch for summer feel effortless and inviting.